Tutorial: Keep your iOS and watchOS2 apps synchronized with WatchConnectivity
With the release of Apple's watchOS 2 right around the corner, there's a lot of excitement about the potential for native watch apps and the associated APIs that are being opened up.
Since watch apps are tied to iOS apps, and the watch interface limits input and display of rich data, communication between iOS and watch apps will of great importance in developing any watch app. In watchOS 2, this communication is provided by the WatchConnectivity framework.
This tutorial is intended to give you a brief introduction to WatchConnectivity, with a simple example of sending data from an iOS device to an Apple Watch. We will build a simple watch-enabled app that sends user-entered text from iOS to watch OS.
Full source is available on GitHub, and each step of the tutorial will include a link to the associated commit.
Example code on this page and the main repo is in Swift 2, but there is also an Objective-C version on a separate branch linked in each step.
Prerequisites
I'm going to assume familiarity with XCode, and Interface Builder and iOS development, but no WatchKit experience is necessary.
You will need to have the XCode 7, which is in beta at the time of this writing. You can get the beta release from the Apple Developer site.
Instructions
1. Create a new project with WatchKit
GitHub: Swift | Objective-C
First thing's first, we need a project to work in. Choose File->New->Project… to open the project template dialog, then select watchOS->Application to bring up the (currently only) watchOS+iOS app option:
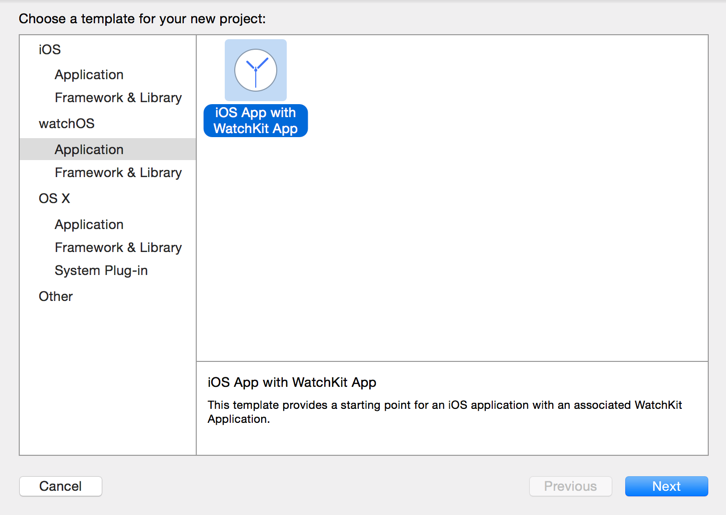
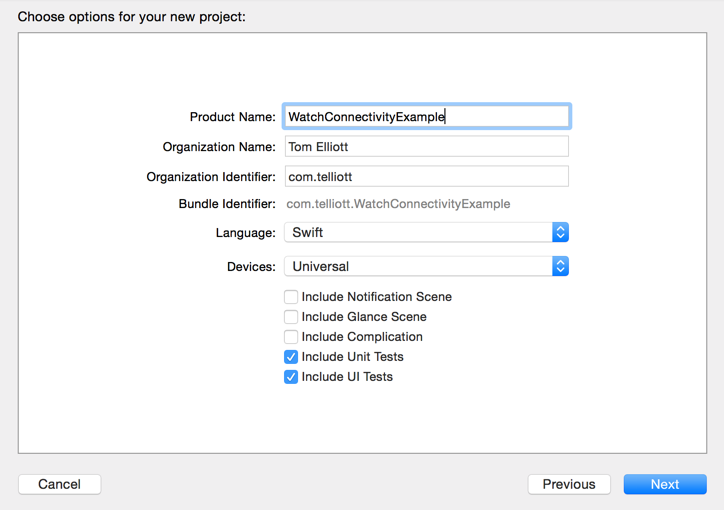
Press next to bring up the project options. For this example we'll be using a Swift project. We're only concerned about the watchOS interface at the moment, so you can deselect "Include Notification Scene" (and the test options if you wish).
2. Add the WatchConnectivity framework
GitHub: Swift | Objective-C
Next, we need to add the WatchConnectivity framework to our application so we can make use of the WCSession classes.
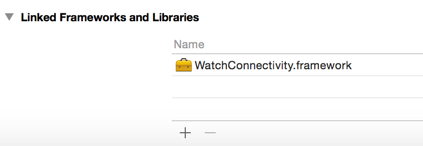
Open the project's General Settings and click the add button under "Linked Frameworks and Libraries". Then enter WatchConnectivity and select the framework:
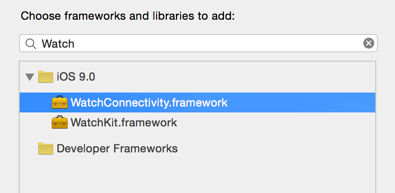
You should now see the framework in your project settings:
3. Set up your iOS UIView and UIViewController
GitHub: Swift | Objective-C
We want to have something to send from our iOS app to our watchOS app, so next we'll add a UITextField to our main UIView in the storyboard, and add an outlet and action to our UIViewController, the ViewController class.

For our action, I've used "editing changed", as this gives the most immediate results without having to muck about with changing focus.

4. Set up your WatchKit App WKInterface and WatchKit Extension WKInterfaceController
GitHub: Swift | Objective-C
Next we need somewhere to receive the text we'll be sending to our watchOS app. This is a similar process to setting up our iOS interface, but with a few important differences.
Firstly, the watchOS equivalent of UIViews are called WKInterfaces, with WKInterfaceControllers appropriately taking the place of UIViewControllers. Let's add a label to the Interface.
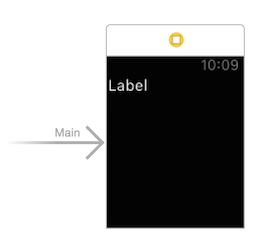
Open the WatchKit App group in your project, and select Interface.storyboard to bring up the watch interface for editing.
Drag a label in to your interface and open it's attributes inspector.
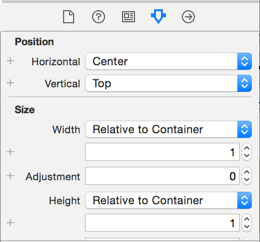
Here we see the second difference: positioning of controls can be managed in each control's attributes.
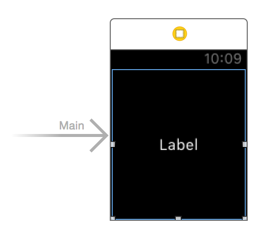
Set the label's width and height to "Relative to Container" with a factor of 1. This will make the label fill your Interface.
Now you can add an outlet for the label to your InterfaceController, in much the same way that you would under an iOS app. You can find the InterfaceController file under the WatchKit Extension group.

5. Add a WCSession to your UIViewController
GitHub: Swift | Objective-C
Now we can get into using WatchConnection proper. Let's start with the iOS app.
In the ViewController class, import the WatchConnectivity class and add a declaration to implement the WCSessionDelegate protocol:
import WatchConnectivity

class ViewController: UIViewController, WCSessionDelegate {
We're not actually going to implement any of the WCSessionDelegate methods in this class, but we need to have a delegate to activate the session.
Next, add a property to hold our WatchConnection session:
var watchSession : WCSession?Then initialize and activate this session in your viewDidLoad method:
    override func viewDidLoad() {
        super.viewDidLoad()
        // Do any additional setup after loading the view, typically from a nib.

        /*
         * If this device can support a WatchConnectivity session,
         * obtain a session and activate.
         *
         * It isn't usually recommended to put this in viewDidLoad,
         * we're only doing it here to keep the app simple
         *
         * Note: Even though we won't be receiving messages in the View Controller,
         * we still need to supply a delegate to activate the session
         */
        if(WCSession.isSupported()){
            watchSession = WCSession.defaultSession()
            watchSession!.delegate = self
            watchSession!.activateSession()
        }
    }
It's important to note that activating the session in viewDidLoad can result in the session not being created if your app is launched in the background. Hence in real-world apps you would want to put this code on a path you can guarantee will be executed even if your app launches in the background. Thanks to @maxhasadhd for pointing this out!
6. Add a WCSession to your WKInterfaceController
GitHub Swift | Objective-C
Now we need to repeat step 5 for our watchOS app. In the InterfaceController class, add the WatchConnectivity import, WCSessionDelegate declaration and WCSession property as before:
import WatchConnectivity

class InterfaceController: WKInterfaceController, WCSessionDelegate {

    // Our WatchConnectivity Session for communicating with the iOS app
    var watchSession : WCSession?
For the watchOS interface, we'll be activating the session in the willActivate method:
    override func willActivate() {
        // This method is called when watch view controller is about to be visible to user
        super.willActivate()

        if(WCSession.isSupported()){
            watchSession = WCSession.defaultSession()
            // Add self as a delegate of the session so we can handle messages
            watchSession!.delegate = self
            watchSession!.activateSession()
        }
    }
Now we have our iOS and watchOS apps connected, but we still need to send some data between them.
7. Update application state when the text field changes to change the label
GitHub: Swift | Objective-C
To keep the watchOS app updated on the contents of our text field, add a call to updateApplicationContext in the text field update action:
ViewController.swift
    @IBAction func messageChanged(sender: AnyObject) {
        if let message : String = messageField.text {
            do {
                try watchSession?.updateApplicationContext(
                    ["message" : message]
                )
            } catch let error as NSError {
                NSLog("Updating the context failed: " + error.localizedDescription)
            }
        }
    }
Not only will this send state updates to watchOS whenever the text changes, but the current state of the text field will be passed to the Interface when it wakes up as needed.
To receive these updates in the watchOS InterfaceController class, implement the didReceiveApplicationContext method to update the label:
InterfaceController.swift
    func session(session: WCSession, didReceiveApplicationContext applicationContext: [String : AnyObject]){
        let message : String = applicationContext["message"] as! String
        messageLabel.setText(message)
    }
And that's all you need to pass data from your iOS app to a watchOS app!
Running the Project
If you select your WatchKit App target, you can install the app in an iOS and watchOS simulator together.
In most cases, you will be taken to the iOS home screen and watchOS face rather than your app. You will need to launch your apps from the home screens.
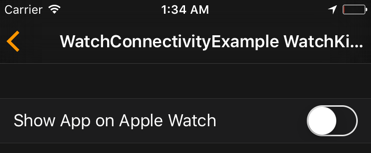
If the watchOS app does not appear in the watchOS simulator home screen, you may need to enable it from the Apple Watch app in the iOS simulator.
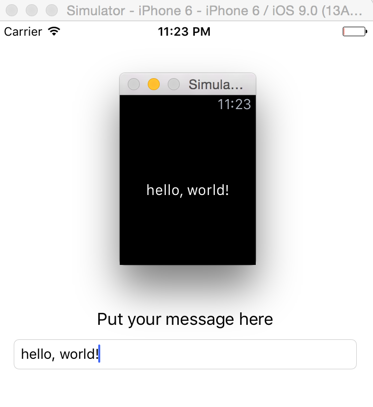
You should now be able to type in the iOS app's text field and see updates in the watchOS app!
You'll probably notice that these updates can be a bit sluggish and heavy on the lag. This is a good indicator that you should probably send these updates sparingly - only in an example app can we get away with this kind of performance.
Remember how we added WCSessionDelegate to ViewController but never implemented any methods? Communication on a WCSession works both ways. Try implementing a method and sending an update from the watch back to the phone!
This example only touches on one way of transferring information between your phone and watch. The WCSessionDelegate protocol provides a great set of methods that can be used to receive events and monitor state, see the documentation for a full list.